The 5 best formations in FIFA 18: our favourite systems explained
Stuck in a rut, or just getting started? Either way, this in-depth guide from Bradley Russell will have you hailed as a tactical genius in no time. Step aside, Pep
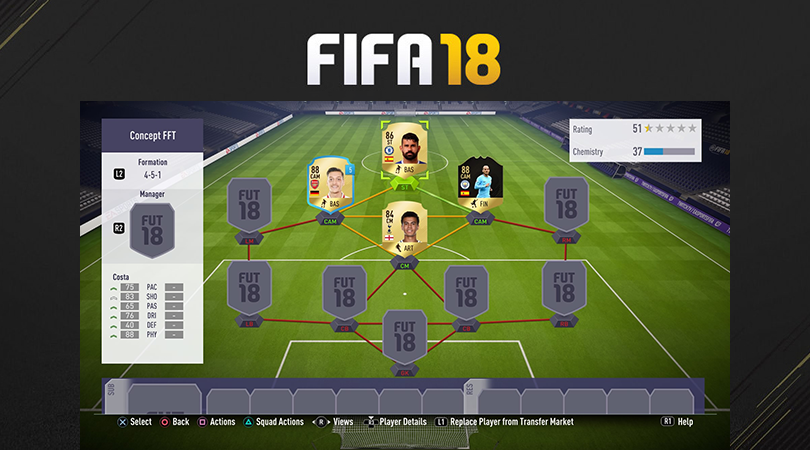
Football is a complex game. Formations can leave many a manager (and fan, for that matter) scratching their head trying to figure out what works and what doesn’t.
It’s no different in FIFA 18. It may be tempting to stick to a tried-and-tested formula, yet there are times when nothing is going right and you can’t break out of that barren run.
If that sounds like something you’re suffering through, try giving these five systems a whirl...
5-2-1-2
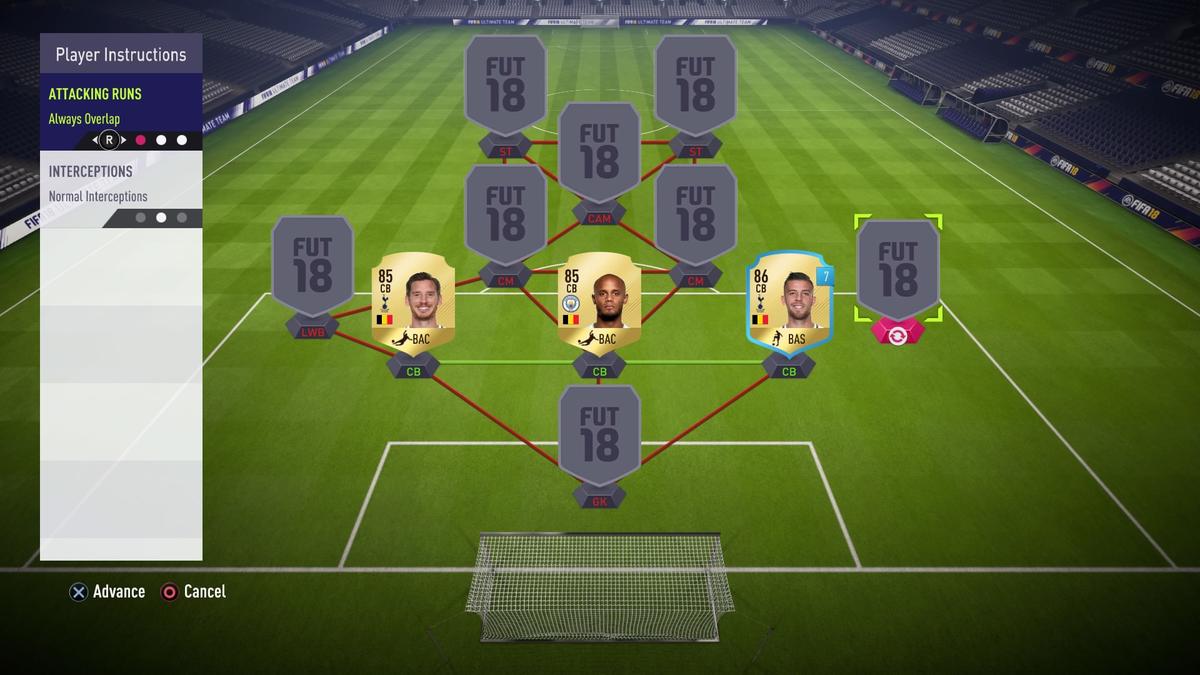
Five at the back can seem like heresy to those who are more willing to go gung-ho but, honestly, this is as close as you’ll get to a true Conte-esque three-at-the-back formation in FIFA 18. With plenty of chances to overload space on the pitch, and attacking threats coming from all angles, this might just be the ace up your sleeve needed to get the better of your opponent.
Most of your attacking play is going to come through your CAM, so make sure he’s a great dribbler or can lay out those diagonal balls to onrushing full-backs
What to consider: This formation doesn’t work without wing-backs who have high work-rate and stamina attributes, so they’re a must. Elsewhere, most of your attacking play is going to come through your CAM, so make sure he’s a great dribbler or can lay out those diagonal balls to the onrushing full-backs.
Things to avoid: Stay clear of defensive-minded CMs like the plague. Not only will they force your team to play deeper, they’re also likely to be a lot slower so you’ll be overwhelmed in the centre of the park. Two pacey strikers likely won’t work in this formation either, as you’ll be left with a lot of runners and not many bodies directly in front of you.
Get FourFourTwo Newsletter
The best features, fun and footballing quizzes, straight to your inbox every week.
Specific player instructions: Both wing-backs should have Attacking Runs to ‘Always Overlap’; the centre of the back three’s Interceptions set to ‘Aggressive Interceptions’; CAM to ‘Free Roam’ and ‘Stay Forward’; one striker (if you wish) set to ‘Run in Behind’.
3-4-2-1
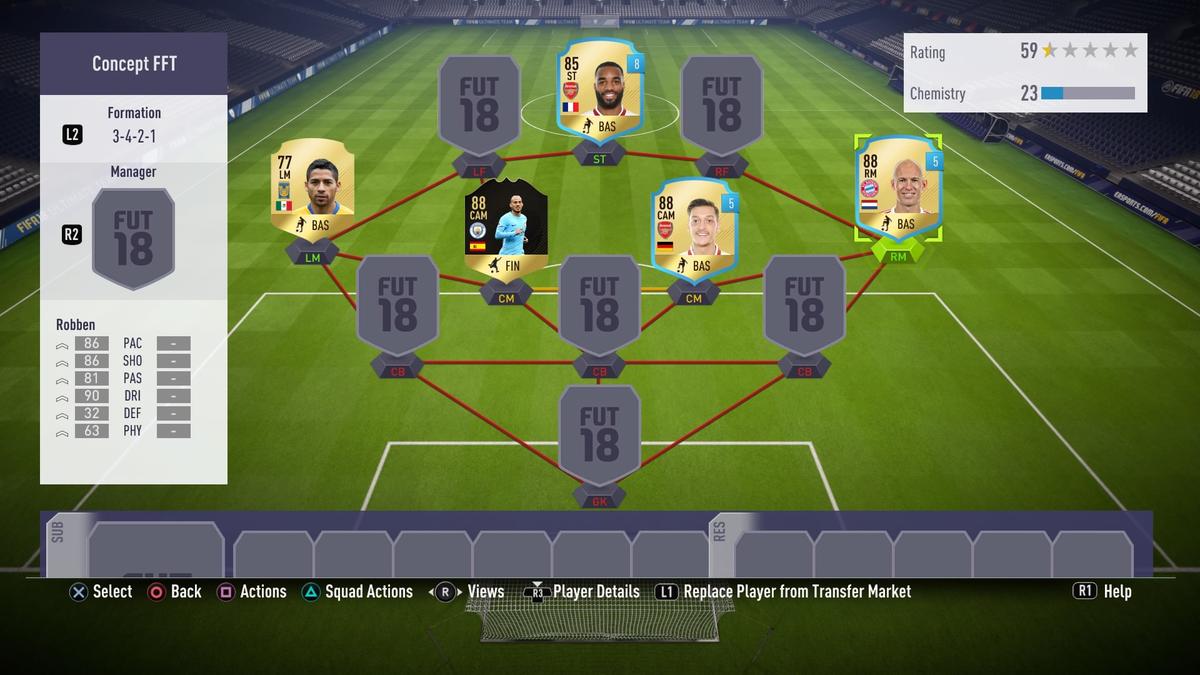
Another back three - sorry, they’re just really in vogue right now. It helps that, this one at least, is very effective at overwhelming opposition defences. If 5-2-1-2 is the Tony Pulis of formations (focusing heavily on counter-attacks), then 3-4-2-1 is its swaggering, Guardiola-esque cousin.
Aggressive CBs will be the death of you here, as will CMs who like one marauding run too many
What to consider: It’s possible to completely throw caution to the wind but, ideally, you’ll want more defensive-minded wingers to counter-attack the smogarsboard of swashbuckling attacking talent at your disposal. Also, if you’re playing Ultimate Team, it may be difficult to come across many LF and RFs.
Things to avoid: Aggressive CBs will be the death of you here, as will CMs who like one marauding run too many. Leave the responsibility to that front three – and try not to play too slowly, otherwise you’ll find attacking chances in short supply.
Specific player instructions: One of RF/LF set to ‘Stay Central’ to act as an auxiliary strike partner; all three CBs to have Normal or Conservative Interceptions; one of CMs set to ‘Stay Back While Attacking’; wingers set to ‘Come Back on Defence’ and ‘Stay Wide’.
4-1-2-1-2
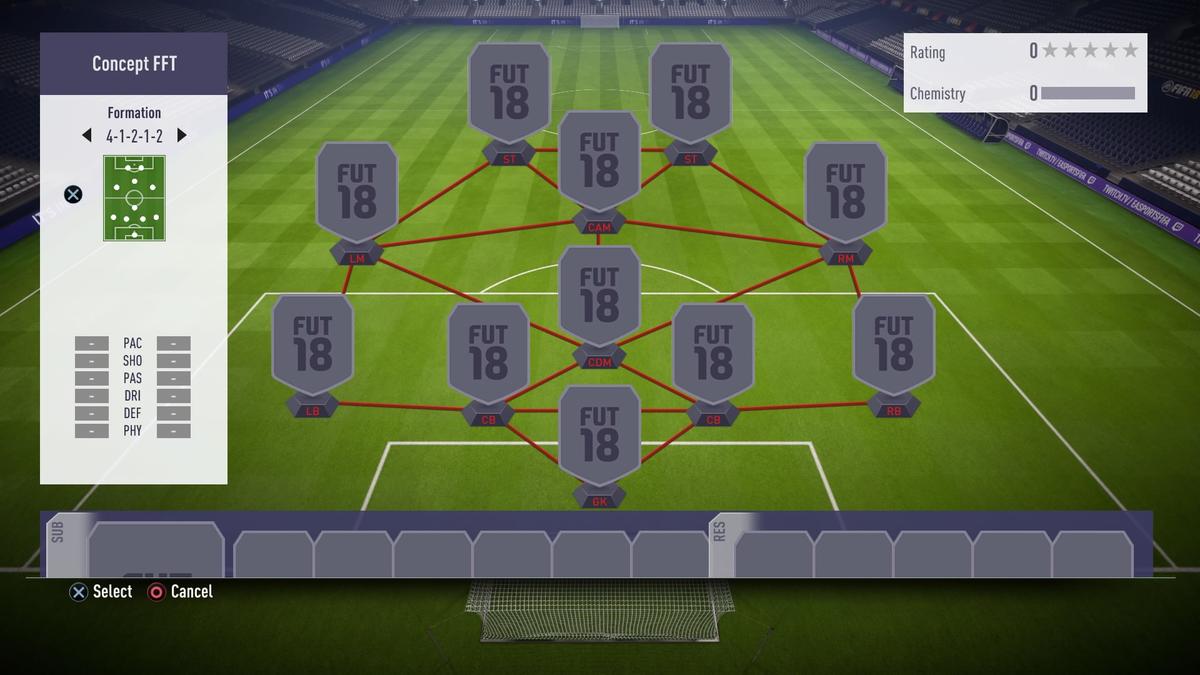
This is a great formation for keeping things nice and balanced. You won’t be left wanting in any department with a wide 4-1-2-1-2 (the narrow version isn’t the best) and, when coupled with player instructions, you can adapt on the fly (or, rather, while paused).
Things to consider: You’re going to want two flying wingers to complement the CAM, otherwise things will be looking pretty static in the final third. The CDM, though, is the most important player in this formation: without a strong presence it all falls apart. Choose wisely.
The beauty of this is that there isn’t a lot you can mess up
What to avoid: The beauty of this is that there isn’t a lot you can mess up. If you find yourself getting countered down the right, for example, then you might want to pick a LB with a lower attacking work-rate. Two big lumps up front might not work either, but this formation is so fluid that as long as you make accommodations elsewhere, you could still be a potent threat.
Player instructions: You have relative carte blanche with this one, but setting full-backs to ‘Stay Back While Attacking’ will ensure you have complete control of the match.
4-3-3 (2)
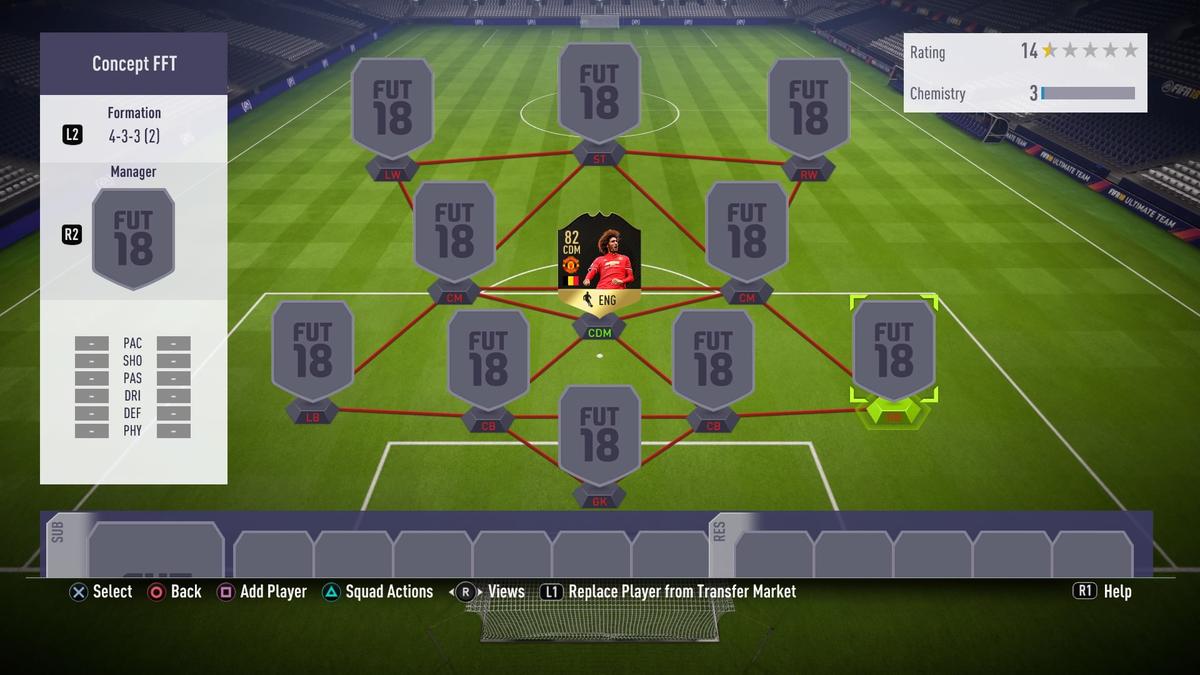
There are five 4-3-3 variants in FIFA 18, but exercising caution first is not a bad way to go about it. So the second 4-3-3, with its CDM supporting the two CMs, is useful for players who want to be a counter-attacking team with real purpose.
Things to consider: It should go without saying that you’ll need two high-class wingers to make this formation work, so make sure they’re there before setting out with this formation. The CDM also needs to be of top quality; try to mix and match with dribblers and passers in CM (maybe convert a CAM or two) to craft a more well-rounded midfield.
It should go without saying that you’ll need two high-class wingers to make this formation work
What to avoid: CDMs with high attacking rates are a big no-no. As are, in FFT’s opinion, small and nippy strikers. Your play will be based on getting crosses in the box or using a striker as a targetman to play the wingers in behind.
Player instructions: Defence begins from the front in this formation. Set your lone striker to ‘Cut Passing Lanes’ and your two wingers to ‘Aggressive Interceptions’. Your CDM must Stay Back While Attacking.
4-5-1
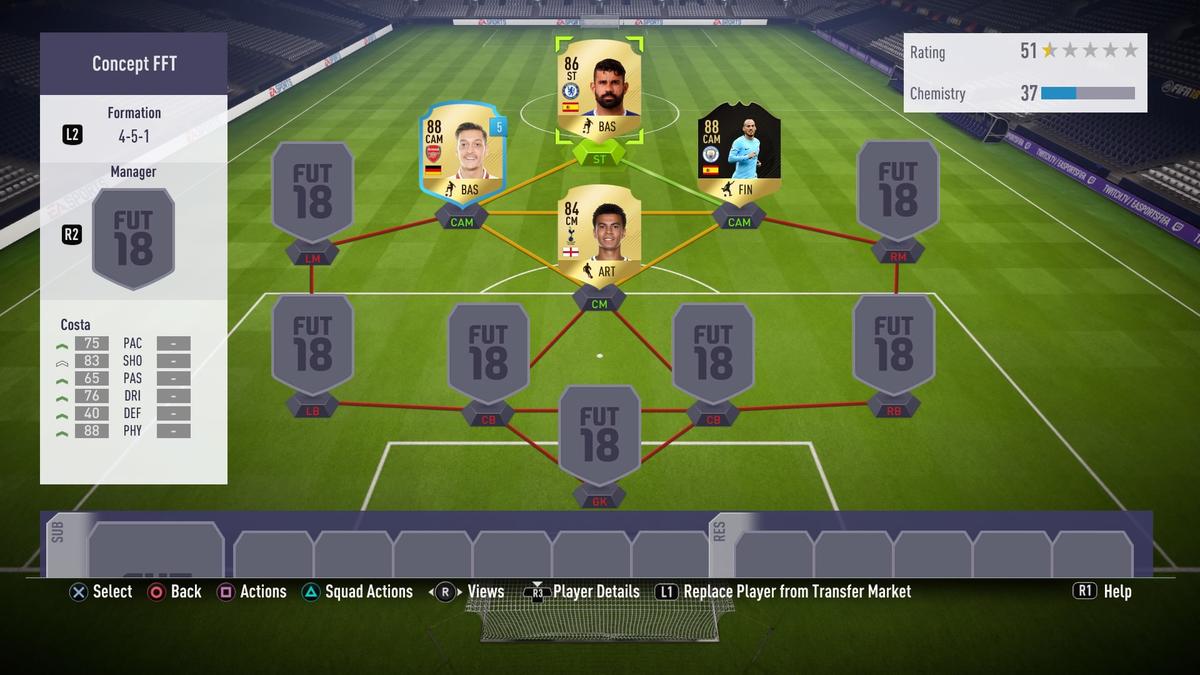
No, wait, come back! 4-5-1 may sound just plain wrong, but the first of its variants in FIFA 18 can create havoc with its litany of attacking options. It’s not for the faint-hearted, though.
Things to consider: There’s no two ways about it: you’re susceptible to the counter with this formation. Hopefully, all being well, you’ll be out of sight long before the opposition get a sniff.
A CM with high work-rate is tantamount to footballing suicide, as are overly attacking full-backs
What to avoid: A CM with high work-rate is tantamount to footballing suicide, as are overly attacking full-backs.
Player instructions: At least one CAM set to Stay on Edge of Box For Cross can work wonders; wingers having ‘Come Short’ active on Support Runs may also turn the tide, and give your CM some more options than just those in the middle ahead of him.
7 essential FIFA 18 tips: new defending, Career Mode advice, Ultimate Team web app and more
The 12 best FIFA 18 right-backs you should sign in Ultimate Team
FIFA 18 wonderkids: the 13 best young players to sign in Career Mode
How to do the 12 new FIFA 18 celebrations – plus more of our favourites
The 11 best cheap Premier League players for your FIFA 18 Ultimate Team
The 11 best free agents in FIFA 18
7 must-read FIFA 17 tips and tricks – directly from the developers at EA Sports
