Football Manager 2022 facepack guide: how to install real names, kits, skins and badges
Some clubs, such as Juventus, don't officially appear on the new Football Manager game - so here's how to get that real-life feel
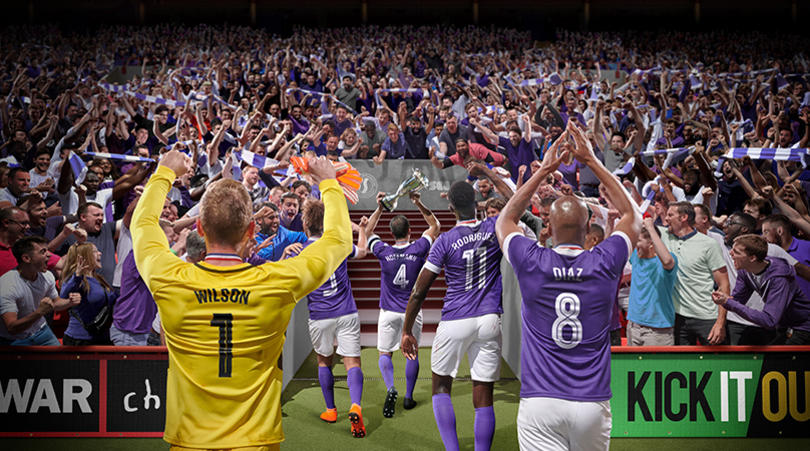
Need to know how to install real names, kits and badges on Football Manager 2022? With the likes of FIFA and even PES - sorry, eFootball - snapping up more and more licenses, it’s increasingly become a priority for many virtual gaffers to ensure their game is updated with the latest true-to-life kits, logos, competition names and even facepacks before they start playing.
Below, we’ll guide you through installing every graphic and add-on you need on Football Manager 2022 – including how to remove Juventus stand-in Zebre Turin in favour of the real deal. With the process having changed in 2020, even those who could previously install real names and badges in their sleep may need a little refresher.
Before you begin
Make sure you have WinRAR installed before downloading any kits, badges, or anything else. That’s because most files will be in a .rar format which you’ll then need to extract using WinRAR and copy to the required folder.
You’ll also need to create a ‘Graphics’ folder in the following location: My Documents/Sports Interactive/Football Manager 2022.
Within that Graphics folder, add the three following sub-folders: ‘Logos,’ ‘Faces’, and ‘Kits’.
How to install real kits on Football Manager 2020
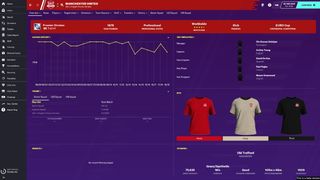
First, you’ll need to find a website that has the real kits available to install. FM Scout traditionally has the goods on the opening weeks. Once you’ve pinpointed the pack you want to add to your game – be it a league-spanning megapack or simply on a league-by-league basis – you should download them and open using WinRAR.
Then, on WinRAR, click ‘Extract To’ and find your Kits sub-folder. Press OK and wait for the process to complete.
Get FourFourTwo Newsletter
The best features, fun and footballing quizzes, straight to your inbox every week.
Next, fire up Football Manager 2022 and click the ‘FM’ logo in the top-right corner to bring up a drop-down menu. Select ‘Preferences’.
Here’s where things are a little different from previous years. Head to the Advanced tab and click the drop-down menu where it says ‘Most Common’ and select ‘Interface’ instead. Scroll down to the Skin sub-section and make sure the following two options are unchecked: ‘Use caching to decrease page load times’ and ‘Show screen IDs in Title Bar to assist skinning’. Then it’s just a case of ticking the option that says ‘reload skin when confirming changes in Preferences’. Hit confirm.
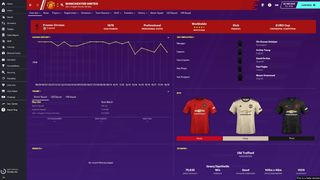
Finally, you’ll need to restart your game for the changes to take effect. Unlike in the past, the kits won’t install automatically upon leaving Preferences.
How to install real faces on Football Manager 2020
Tired of the greyed-out silhouettes on Football Manager? Facepacks are the cure for what ails you.

As of writing, the DF 11 Facepack is the gold standard when it comes to adding real-world images to your game, with thousands of players, from household names to obscure talents, all featuring.
It’s also a very similar process to installing facepacks in Football Manager 2020, especially if you’ve already installed the kits above.
Download the facepack, and open with WinRAR. Extract to the already-made ‘Faces’ folder.
Next, you’ll need to open up your copy of Football Manager 2020. Once you’ve loaded up your save, click the ‘FM’ logo in the top-right corner to bring up a drop-down menu. Select ‘Preferences.’
Press the Advanced tab and click the drop-down menu where it says ‘Most Common’ and select ‘Interface.’ Scroll to the Skin sub-section and uncheck these two if they aren’t already: ‘Use caching to decrease page load times’ and ‘Show screen IDs in Title Bar to assist skinning.’ Then, check ‘Reload skin when confirming changes in Preferences’ and press confirm.
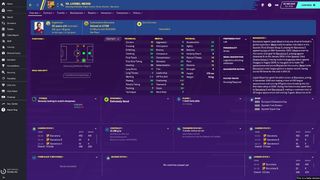
All you’ll need to do now is restart your game and you should then see faces when on a player profile screen.
How to install real badges on Football Manager 2020
Again, FM Scout should be your port of call for real badges and logos in Football Manager 2022. Everything from Premier League competition logos to Swiss second-division teams are correct and present in one of many logo megapacks on offer.

You should know the drill by now: install, open with WinRAR and Extract to the ‘Logos’ location that you’ve set up in your Football Manager 2020 Graphics folder.

On the game itself, go to Preferences and head over to the Advanced section. From here, click the Most Common button and change it to Interface. Scroll down to the Skin sub-heading and make sure only ‘Check reload skin when confirming changes in Preferences’ is ticked. Click Confirm and then restart your game. Voila!
How to install real names on Football Manager 2022
Note: installing real names, such as those from the Brazilian league and Juventus, can only be done before starting a new save game. It won’t work on your current save.
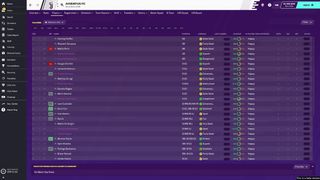
Now, this is a bit trickier. FM Scout has the required ‘Real Name Licenses Fix’ so head there and download the file. Make sure you’ve closed Football Manager 2022, too.
Go to the following location in your folders under My Computer: C: Program Files (x86)/Steam/steamapps/common/Football Manager 2020/data/database/db/2001/inc/all.
Delete every file in the ‘all’ folder.
Then you’ll need to take the Real Name Licenses Fix you’ve just downloaded and paste them into the now-empty ‘all’ folder.
Next, head to C: Program Files (x86)/Steam/steamapps/common/Football Manager 2020/data/database/db/2001/dbc – delete the three files that begin with ‘zebra.’ This will bring Juventus back into the game.
One last thing: go back to C: Program Files (x86)/Steam/steamapps/common/Football Manager 2020/data/database/db/2001/dbc and click the ‘permanent’ folder. In here, delete ‘brazil_kits’, ‘forbidden_names’ and both files that begin with ‘Licensing2.’
All you’ll need to do now is open up Football Manager 2022 and start a new save game.
FM22 All the Football Manager 2022 wonderkids you'll need to sign

‘Sir Gary Lineker? I don’t know how you comment on that – I’ve never even considered it. I just try to stand up for the things I believe in’ England legend tells FFT why he won’t stop raising humanitarian issues, even if it affects potential honours
'I fell on the floor and shouted for a penalty. Someone pulled me up and said, "Don’t cheat to win penalties". It was Steve McManaman. I never did it again!' Ex-Liverpool forward reveals harsh lesson he learnt from his team-mate on Reds debut


